

Visual context / 360° imagery
Return to the moment.
Move through the recording by time and pose. Open any of the four camera images to inspect and save the full-resolution source image.
Start with
A recording with synchronised camera imagery and corresponding poses.
Create
Pose-linked camera views and individually saved full-resolution images.
Why it matters
Add the visual context that a point cloud alone may not convey, without returning to the site for every question.
How 360° imagery works.
- 01
Choose a point in time
Navigate the recording trajectory or step through selected time intervals to revisit the capture.
- 02
Compare the camera views
Review the four image panels associated with the selected pose and identify the relevant direction.
- 03
Open the source image
Select an individual image to open its full-resolution view for closer inspection.
- 04
Save the useful evidence
Save the selected image and retain its recording, time and viewpoint context with your notes.
Read the result in context
Full-resolution dimensions depend on the recording and camera configuration. A displayed image is visual evidence, not a substitute for geometric verification.
Take the next step.
Registration
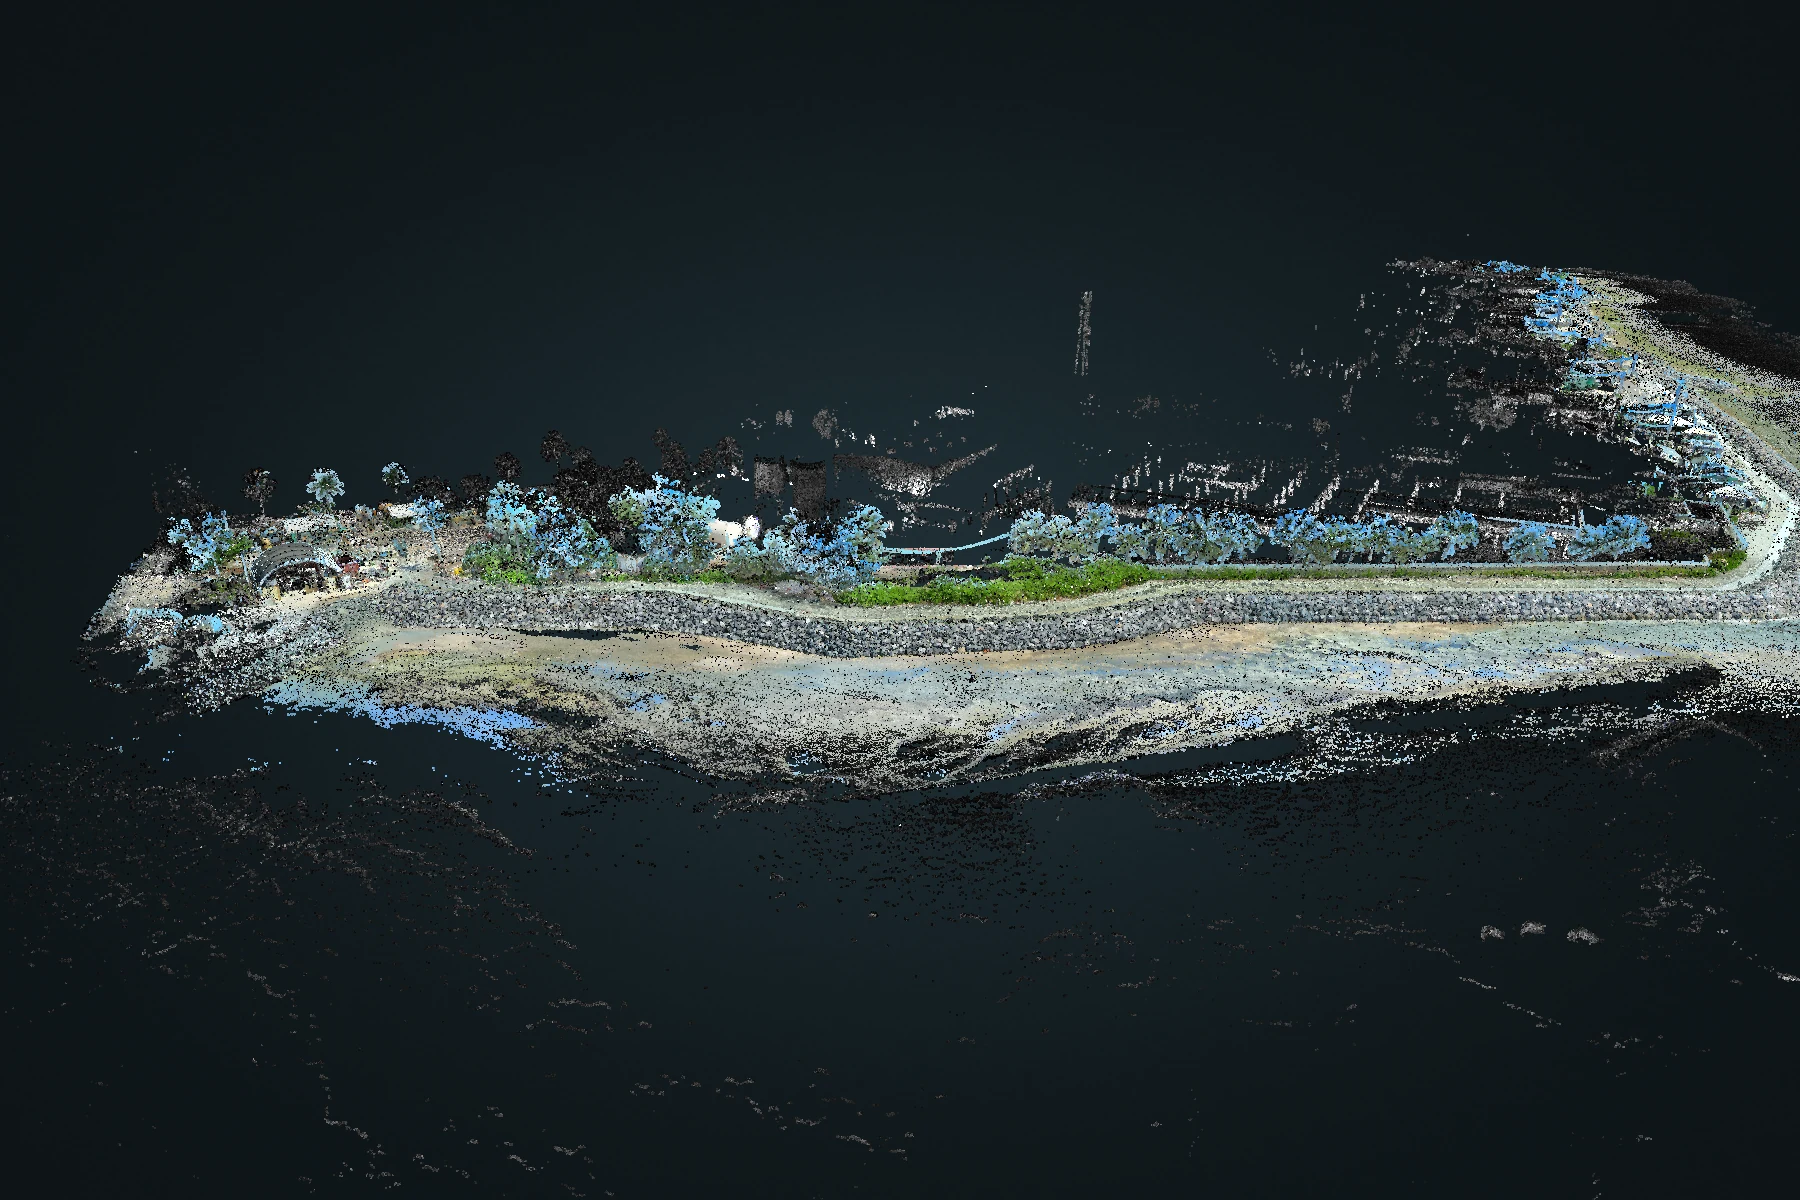
Atlas multi-map merge
Bring overlapping recordings into a shared spatial solution. Review the combined coverage while retaining the origin of each capture.
Explore Atlas multi-map merge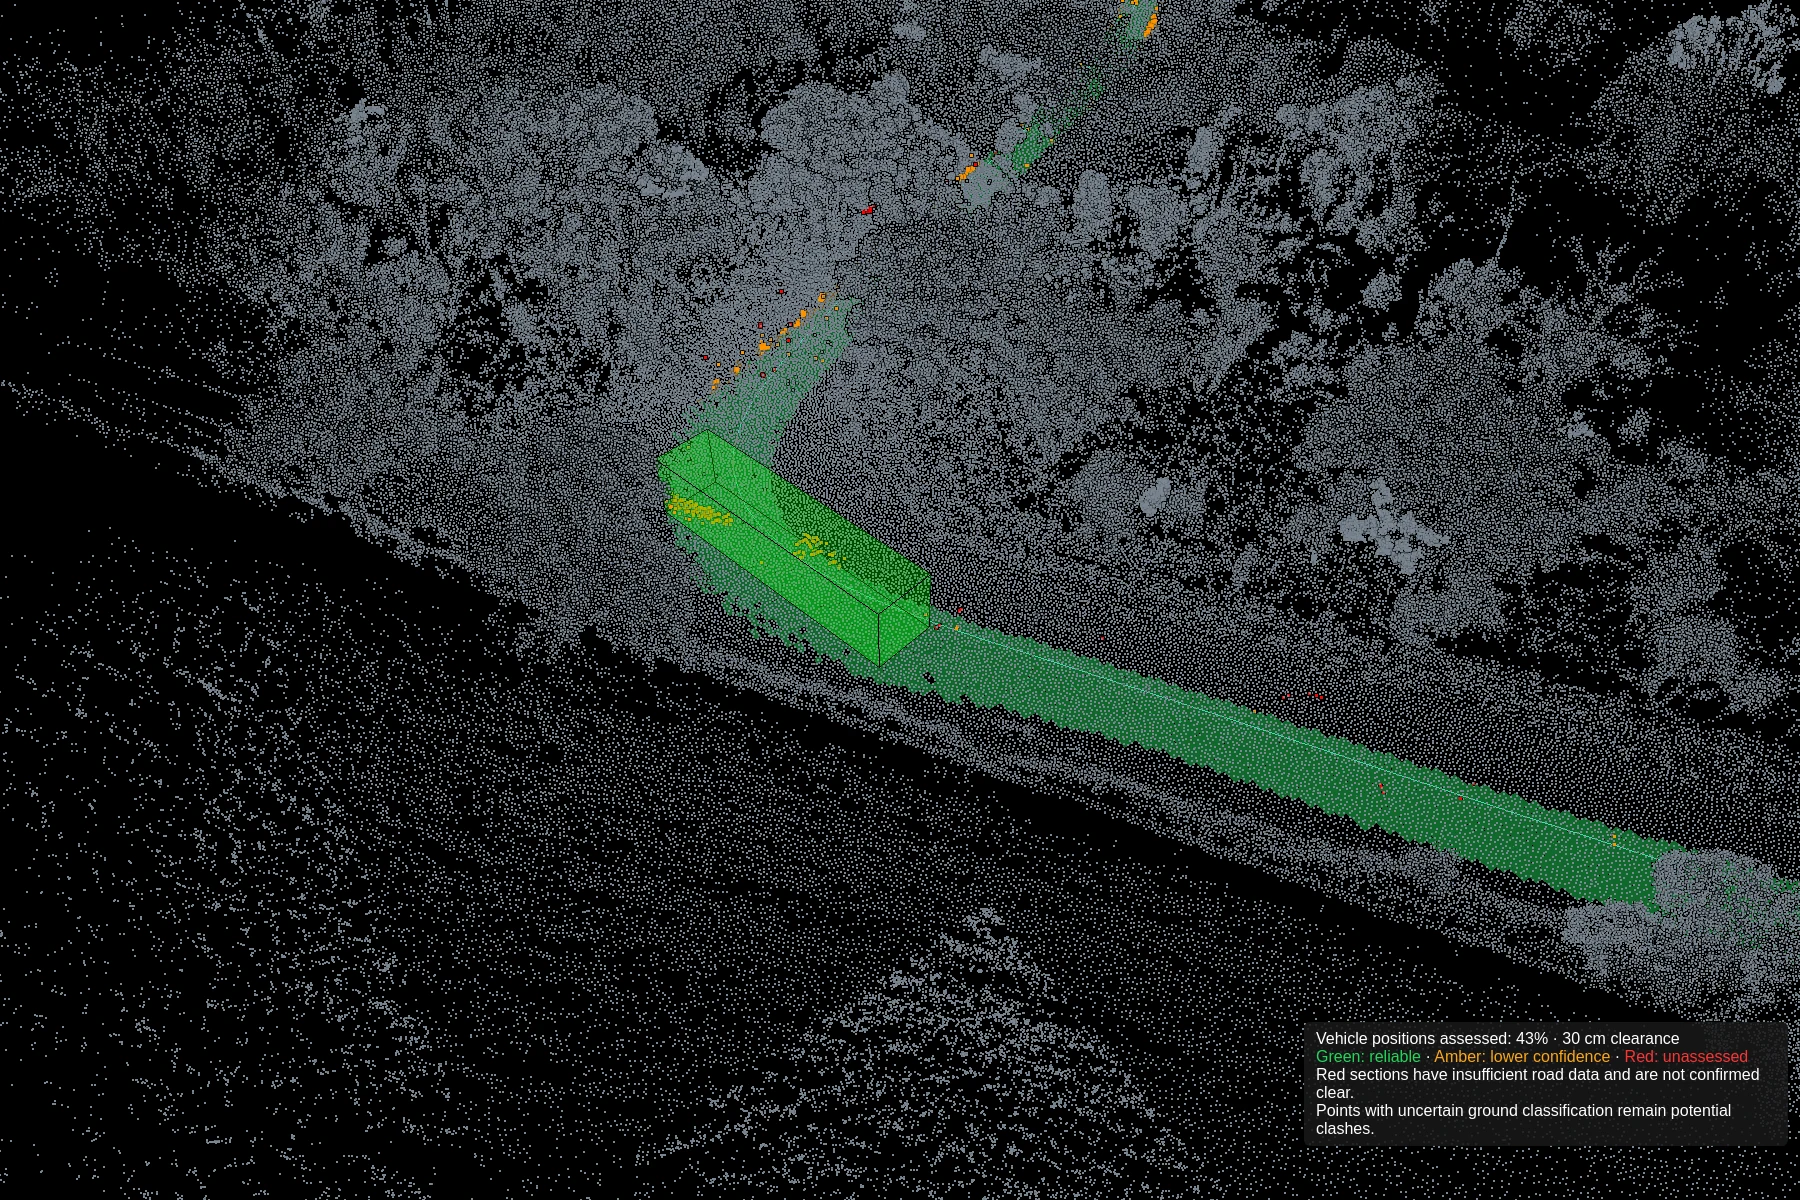
Clearance
Clash detection
Define vehicle dimensions, test the route against captured geometry and refine the path. Review road-surface support alongside potential intrusions.
Explore Clash detection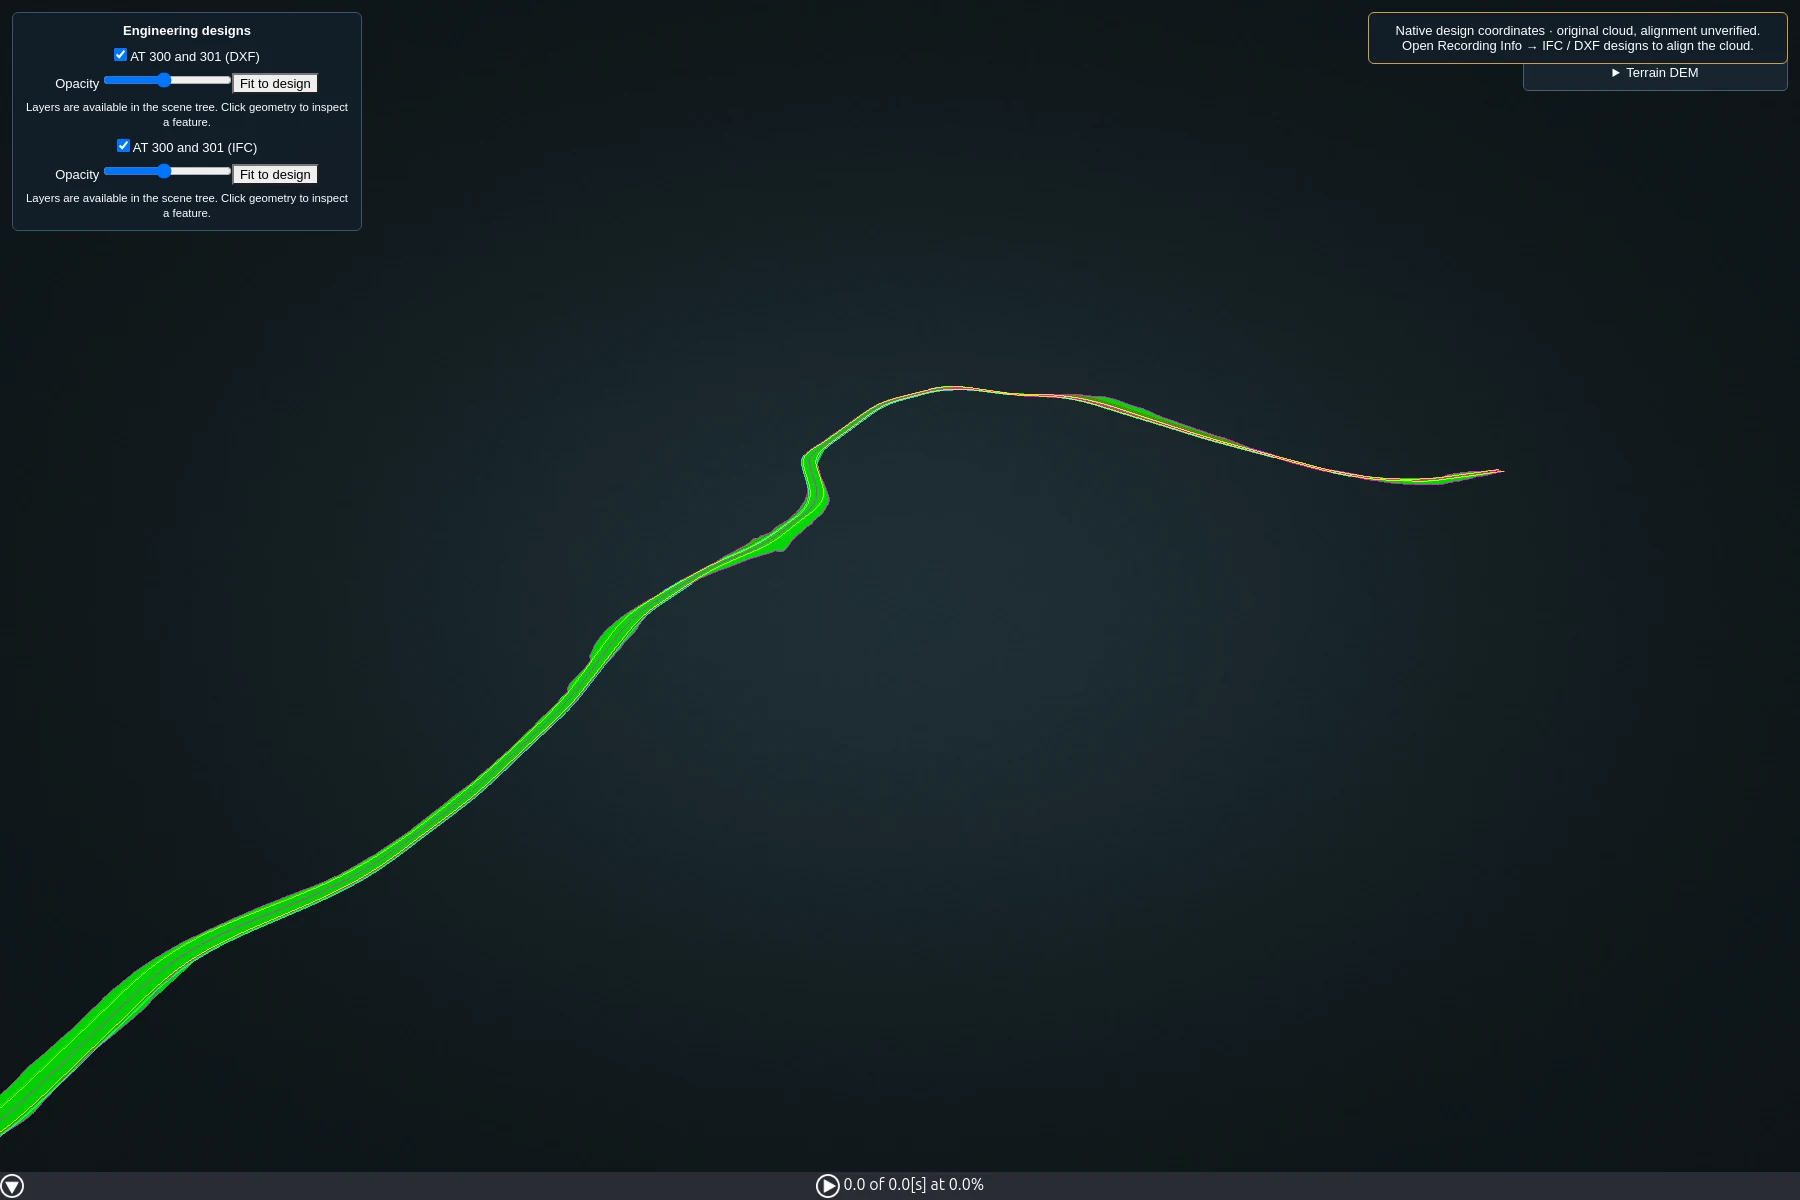
Design review
IFC & DXF design loading
Review engineering designs in the same 3D workspace as your survey. Control layer visibility and opacity to inspect geometry in context.
Explore IFC & DXF design loading