

Terrain / Terrain gridding
Give dense data structure.
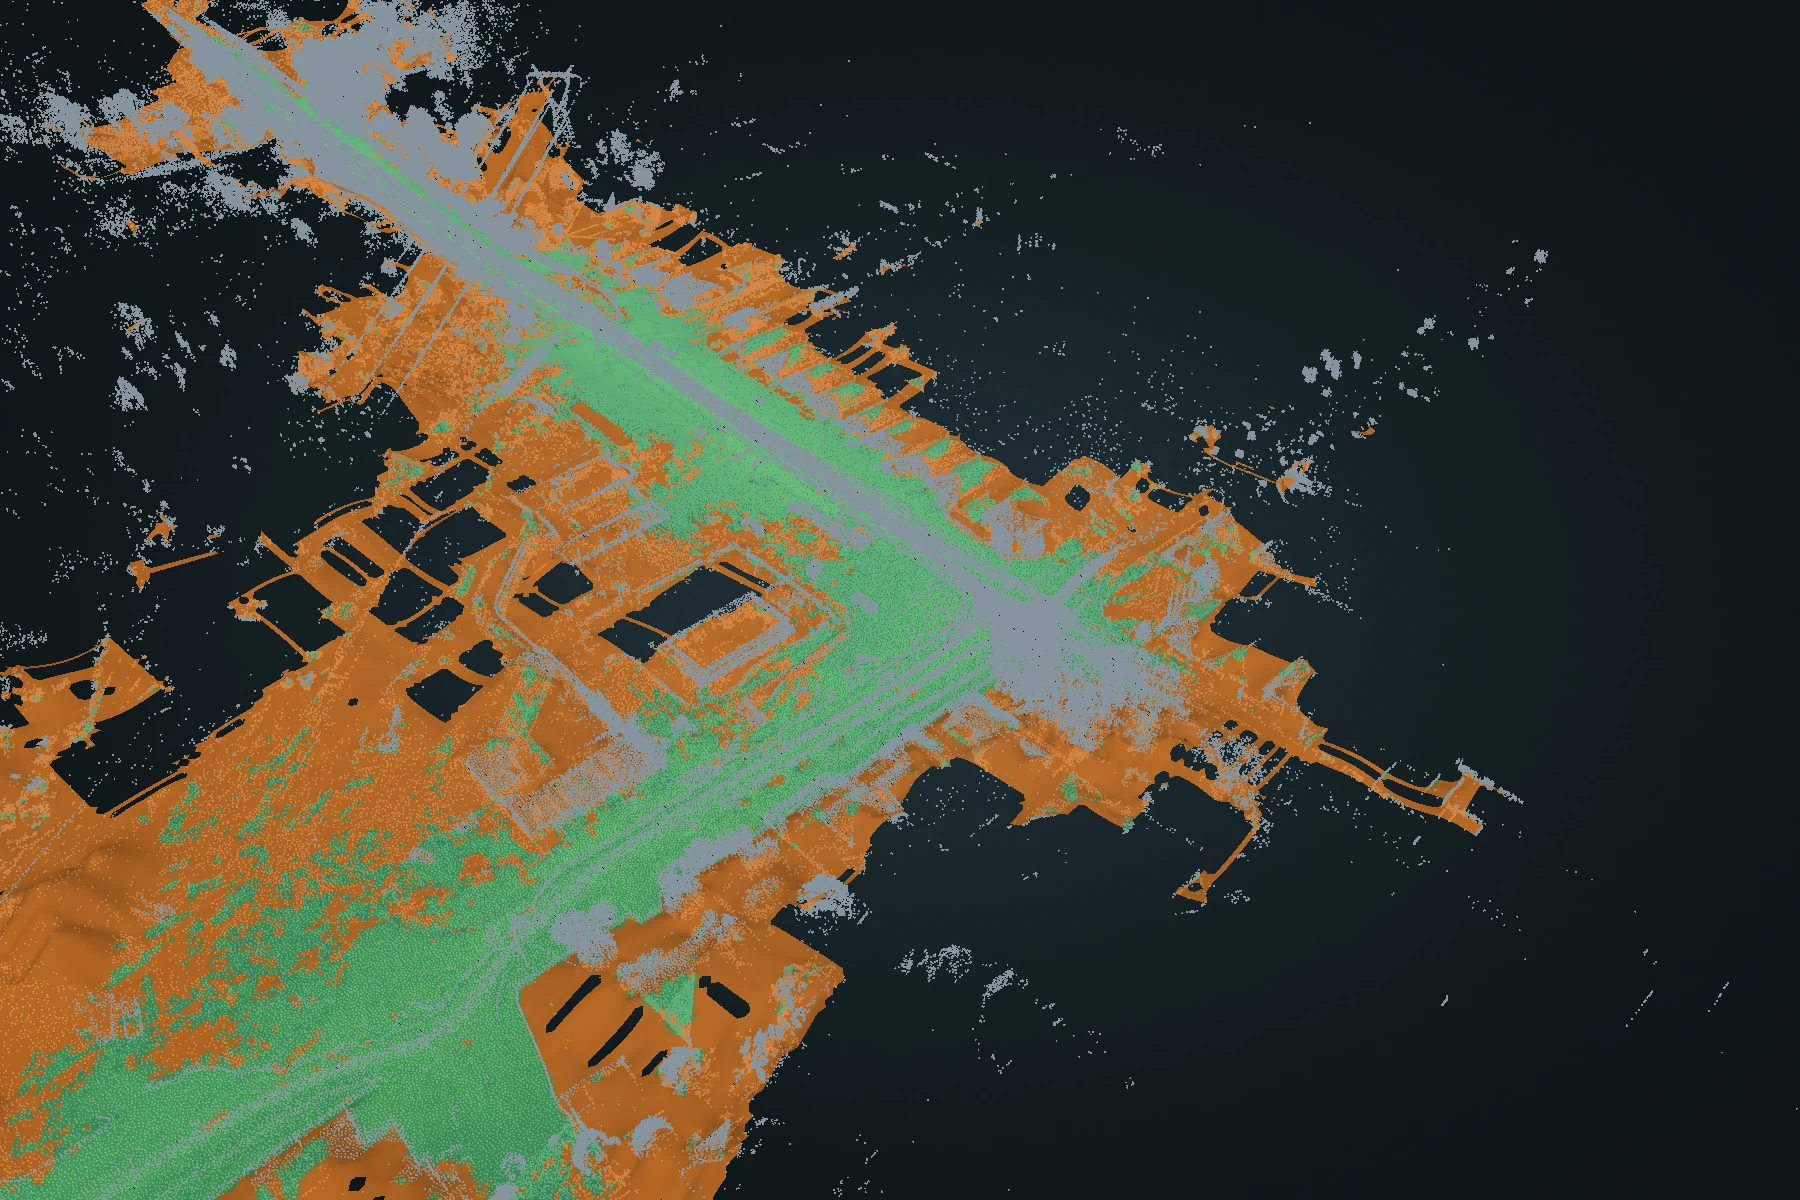
Convert irregular survey returns into fitted terrain points at regular XY positions. Work across the recording or focus on a polygon.
Start with
A source map, optionally restricted by a closed polygon.
Create
XYZ CSV and LAS grid points; a fenced run also retains selected input points as PLY.
Why it matters
Hand over a compact, regularly sampled surface that is easier to inspect and use in downstream tools.
How terrain gridding works.
- 01
Set the scope
Use the whole map or draw a closed, non-crossing boundary around the area of interest.
- 02
Fit the terrain grid
The reviewed workflow fits terrain at regular 1 m XY locations, keeping accepted cells.
- 03
Check the fit
Compare the grid with the source scan. Inspect gaps and local surface changes before accepting the result.
- 04
Export coordinates
Use the XYZ CSV for numerical review or LAS for spatial exchange. Preserve the coordinate frame and units.
Read the result in context
The gridding workflow creates a single terrain surface. It does not itself calculate cut/fill, survey-to-survey change or a finished design model.
Take the next step.
Terrain
Terrain DEM
Turn a full point cloud into a ground-oriented elevation surface. Inspect fitted ground and reconstructed estimates, then carry the surface into CAD or GIS.
Explore Terrain DEM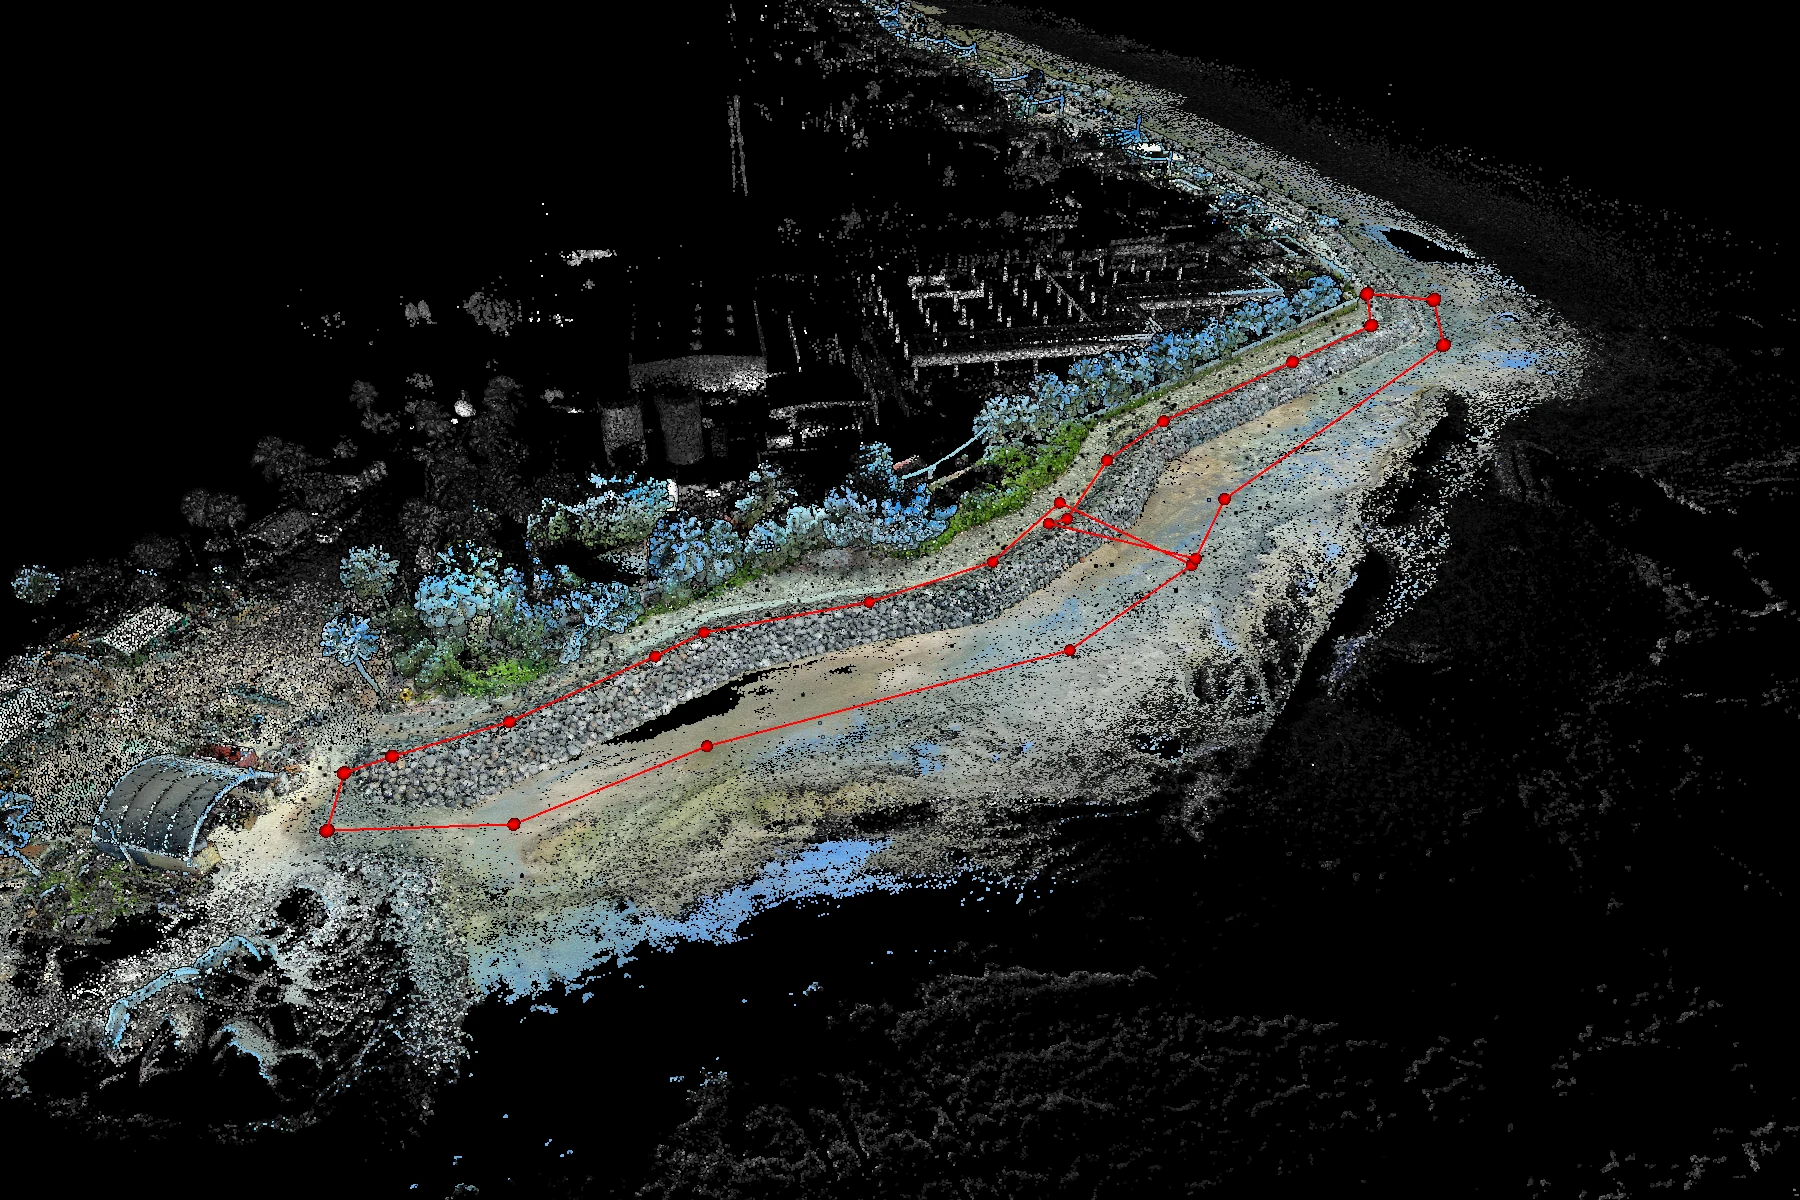
Measurement
Volumetrics
Draw an area, choose a reference base and calculate the volume between that base and the captured surface.
Explore Volumetrics
Design review
IFC & DXF design loading
Review engineering designs in the same 3D workspace as your survey. Control layer visibility and opacity to inspect geometry in context.
Explore IFC & DXF design loading